Pages

Showing posts with label " painting with fire torch fired enamel. Show all posts

Tuesday, May 5, 2015

Let's Talk About How to Get Clear, Bright Enamels!

Today let's talk about the flame you get with a Hot Head torch.  This "single gas" torch has been around for about 40 years and is the workhorse of portable torches. Hooked up to a 1 lb. tank of MAP gas (propylene),   it is meant to be fired in an upright position.

Take a look at this video and then continue reading.  I hope the information is helpful to many of you who are making torch-fired enamel, but may be questioning … or reaffirming … your color results. :-)

 
There are three types of flames: an oxidizing flame, a neutral  flame, and a reducing flame.  When you light your torch, 99.9% of the time the flame will be at too great an intensity for general firing.  The flame is very loud … it's nearly roaring.  This is a reducing flame.  This bushy flame has an orange interior with yellow mini flames flashing at the edges. This fuel-rich flame has a lot of non-combusted fuel.  This extra fuel will be deposited in your beautiful enamel and turn your colors a muddy gray or brown.     

To reduce the flame intensity, turn the knob to the right. Turn, turn, that's right, keep turning.  Turn the flame down until it is nearly off; then turn the knob to left about a half a turn.  This is an oxidizing flame.  An oxidizing flame is a cool flame. It is a flame with a clear blue cone.  It will take you forever to fire a bead in this flame. 

Now turn knob to the left about one to two turns.  This is a neutral flame.  It should have a clearly defined inner blue cone with slightly bushy yellow edges.  This is the ideal flame … the one you're shooting for.  

Within the neutral flame, however, there is a reducing part of the flame, a neutral part of the flame, and an oxidizing part of the flame.  Remember, we're talking now about a flame that is set to the  perfect intensity.  Starting at the torch end,  you'll find the reducing flame.   If you move 2.5" to 3" from the torch end, you'll find the neutral flame.  Beyond the neutral flame is the oxidizing flame.  Each of these flames are useful to the torch-firing enamel artist. 

The neutral flame is where you'll find the "sweet spot".  It is where there is a near perfect balance of oxygen and fuel, which is what makes the flame hot AND clean.  This is the area with which you'll have the best relationship!  Bright colors are produced in a short amount of time.

So, when and why would we be interested in reducing and oxidizing flames? I primarily use the reducing flame to create special effects.  After I've fired the enamel to maturity (a glossy finish) in the sweet spot of the flame, I can finish the piece in the reducing flame to create a smokey haze.  Remember, the reducing flame contains non-combusted fuel. 

The oxidizing flame, which is beyond the sweet spot, is a great place for "flame annealing."  Flame annealing allows you to control how quickly the glass cools, which prevents thermal shock.  For a bead with a few layers of glass there isn't a need for controlled cooling.  However, controlled cooling is essential for enamel head pins. 

Use the flame to your advantage, whether you're firing enamel onto metal, getting special effects from a reducing flame, or annealing enamel head pins.  If you have any questions, please leave them in the comments section and I'll respond.  Have a great week!  Barbara


Thursday, March 29, 2012

Simple Summertime Necklaces

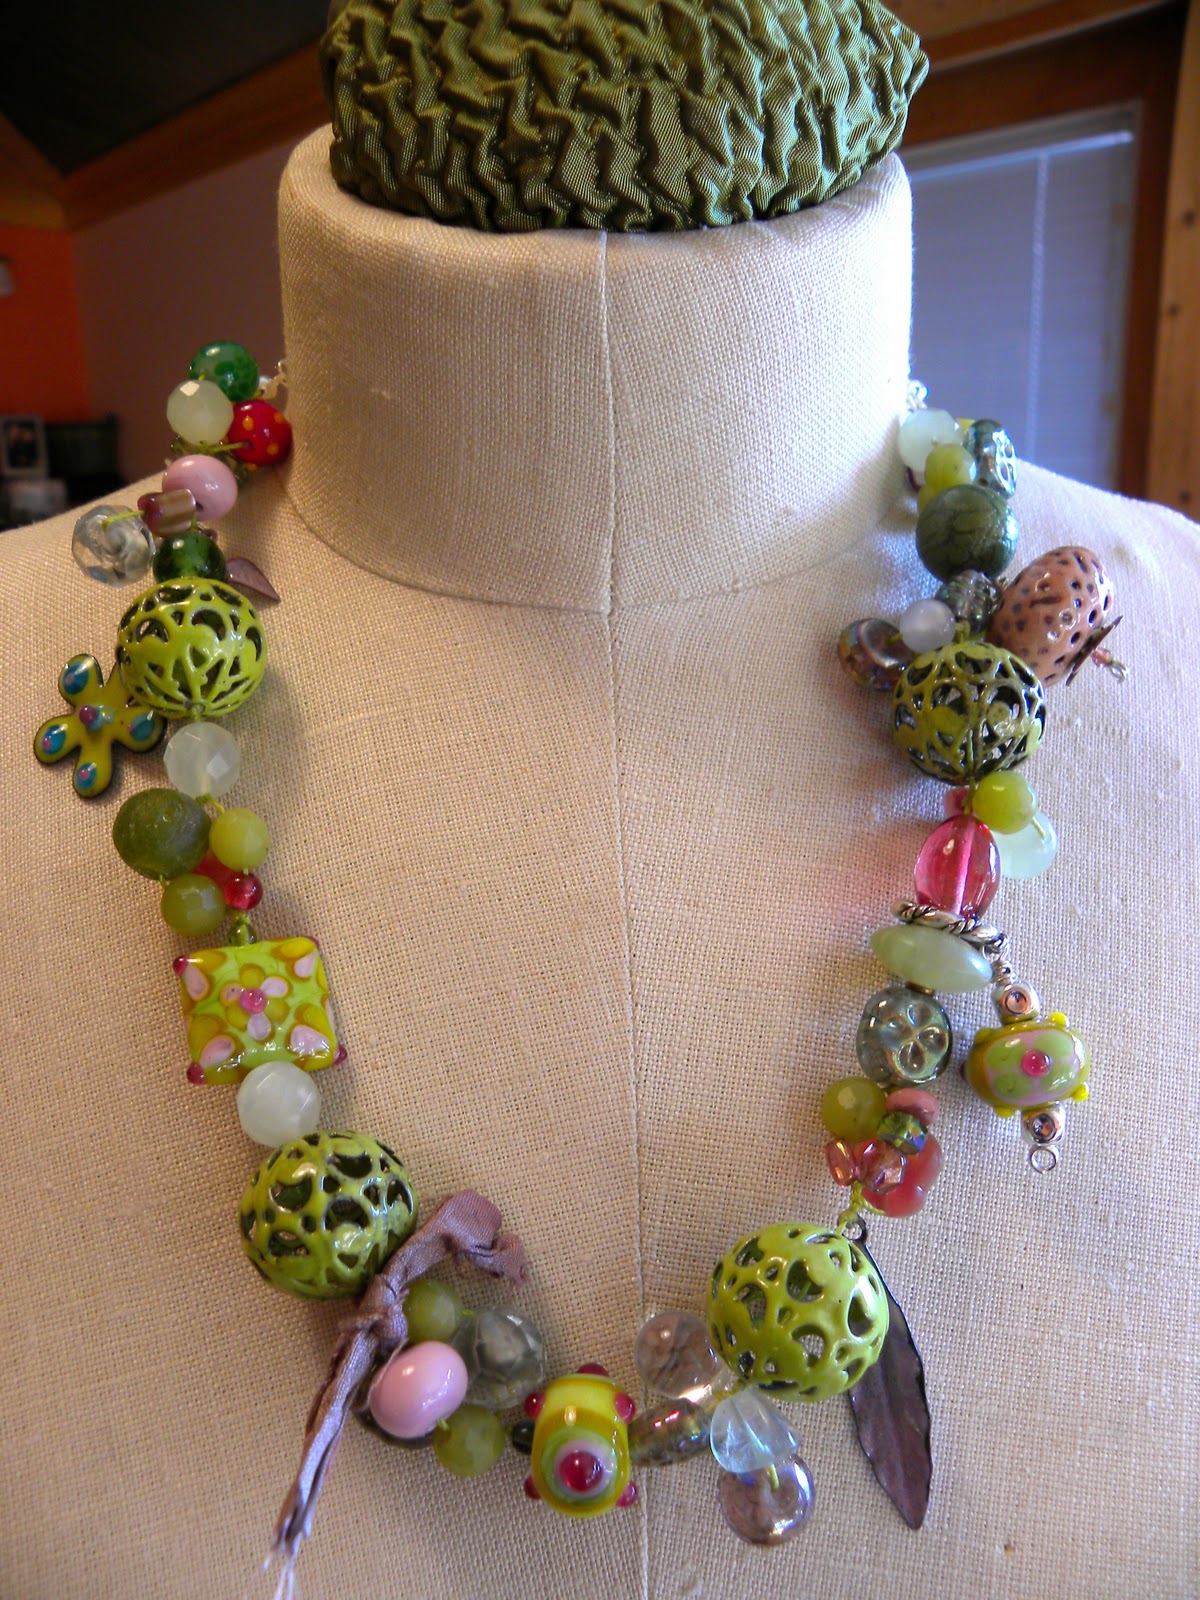
I don't know about you, but when the temperature and humidity start to soar, I wear less jewelry and what I wear is usually pretty minimal.  These necklaces were designed with that in mind.  Simple, but sweet and sassy, torch-fired enamel.  You will find them at my etsy shop.

Torch-Fired Enamel ... Summertime Necklaces

Friday, March 23, 2012

Progress on Painting with Fire Studio

Gosh, it's feels like it's been an eternity since I've visited with you guys.  I'm feeling somewhat mentally deranged; happy, but stressed out as hell!  Three weeks ago, we got the plans approved for improvements to our commercial building in St. Petersburg.  2428 Central Avenue will be a retail space, my studio, and a workshop spot.  The colors for the building all started with this new logo.


You might have noticed that we've changed our name in the logo from Painting with Fire "Artwear" to Painting with Fire "Studio."  We felt it would more aptly described what we're up to these days.  We'll be able to teach in the new space.  Thank God!  I'm not as young as I used to be (Surprise!!!) and being a migrant workshop instructor is incredibly fun ... but incredibly hard physically and mentally.  As you may know, I'm not the most organized person and the mental calisthenics I go through to make sure I haven't forgotten something is ... well ... let's put it this way, if I did that many physical calisthenics I'd be a size 8!
  
You won't be surprised to learn that I'm influenced by Thompson Enamel colors. I simply like Bitter and Flame Orange!  That's what you see in the logo.  I thought the charcoal gray was a softer touch than black.  I barely know the Adobe Illustrator program but somehow managed to get these transparent circles on top of the lettering.  I thought, "Wow! I like it!"  I think it gives the letters a little distressed look. The graphic designer and I were trying to get a logo that would be suitable for the sign for the building, a business card, and any other printed material.  

The graphics you enjoy on the internet when your computer is 10" in front of you, don't always translate well to building signs, which is unfortunate because Lori Plyler designed a beautiful image and I was disappointed not to be able to use it. 

Benjamin Moore has their own name for citrus green and it's called "Wasabi."  Good thing I like this color, because I chose it for a lot of the building.

The entire building will be painted Wasabi with the lighter coral surrounding the windows and door, and the deeper coral color for the shutters and window sills of the upstairs apartments.


Colors of Painting with Fire Studio, St. Petersburg, FL 


The walls in the retail space are accented with deep aqua bas relief molding. Of course, a lot of the wall color in the rooms will be covered with hanging displays and shelves. 

Alicia inspecting the paint job

Yesterday I ran myself ragged picking up paint ... twice! ... going to Lowe's for track lighting ... meeting the sign guy ... and going to Sam's Club to look at shelving units!  But believe me, I'm really just grateful that work has begun.   

In the middle of all this, my daughter, Laura, called to say that she ran out of gas on the Frankland Bridge (the float in her gas tank is not working).  She was among parade floats traveling from Tampa to St. Pete for the Grand Prix this weekend.  She said not a single person drove by, waved, and shouted, "Have a wonderful day!"   At the same time David, my son, was calling to say he locked himself out of his apartment ... plus the hair dresser was running 45 minutes late. 


Do you want to know how crazy I am?  I'm even excited over the security lights and the exit signs! 


These are the air conditioners that will help to keep the workshop space comfortable with 11 torches going at the same time!   


And here's one of the images from my book.  I can't help but smile at the colors that find their way into my work ... and now in the building.  Praise God for his many blessings ... 


Thanks for visiting me today.  I'll have more tomorrow when I can get a shot of what Cat Kerr gave me at last weekend's workshop!  You won't want to miss that!  :-) Barbara


Thursday, March 1, 2012

Bead Soup with Cat Pruitt ... and Lori Anderson, of course!

Well, the excitement has reached a crescendo on facebook and in the blogosphere. I'm so glad that Lori does the Bead Soup Party Swaps.  I usually sign up wondering where I'll put this into my schedule, but come away from it feeling truly happy and refreshed.  Thank you, Lori!

And, a big thank you to my partner, Cat Pruitt, who gave me such wonderful things to work with!  Here's what Cat sent ...


I love the palette of the different elements sent by Cat.  I mean, she sent EVERYTHING~  I knew I wanted to set her focal off so I used the wonderful little beads that look like Amber.  I wish I could say for certain what they are.  I hand-knotted them so you'll find a little knot in between each bead.  I love to hand knot pearls and other beads.  It's so relaxing.  I know, some of you find it as interesting as watching grass grow.  But that's what makes the world go 'round. 


I've really got this Boho-Gypsy vibe going on with all of the chain that Cat sent.  I think I'm going to add a little more to fill in the space above the focal a little better.  I'll repost the photo with the additional chain and get your opinion.


Because I used all the chain in the front of the necklace, I was forced (LOL!) to use fabric for the back!  Look at the handmade toggle!  I love it!  


Here's Cat's spectacular etched copper pendant.  This is quite large ... maybe 1.5".  She did a really nice job capturing all of the detail.  I'm afraid mine never look as good as this. :-) 


I'm so thrilled with this piece that I'll be wearing it soon.  It "looks like me!" 


Please visit the rest of the participants to see their "something special!"

Hostess, Lori Anderson


Special Book Sneak Peeks, Cindy Wimmer
1.  Adlinah Kamsir (Singapore) and Hajer Waheed (Kingdom of Bahrain)
2. Adrienn Lukacs (Hungary) and Agata Grygiel (Poland)
3.  Agi Kiss (Hungary) and Carolien Muller-Genger (the Netherlands)
4.  Agnes Asztalos (Hungary) and B.R. Kuhlman
7.  Alicia Marinache (Canada) and Dita Basu
15.  Bonnie Coursolle (Canada) and Fay Wolfenden (Canada)
16.  Carmel McGinley (Australia) and Tracy Stillman (Australia)


21.  Cheryl Brown (Canada) and Diana Ptaszynski
22.  Christina Stofmeel (the Netherlands) and Eva Kovacs (Hungary)
24.  Cilla Watkins (Canada) and Elaine Robitaille (Canada)
25.  Sabrina Straub (Switzerland) and Kathy Combs


32.  Dee Elgie (UK) and Joanne Lockwood (UK)
33.  Dian Hierschel (Germany) and Eniko Fabian (Austria)
37.  Doris Stumpf (Germany) and Eszter Czibulyas (Hungary)
39.  Elke Leonhardt-Rath (Germany) and Marjolein Trewavas (UK)


41.  Erika Nooteboom (the Netherlands) and Giorgia Rossini (Italy)
43.  Evelyn Duberry (Canada) and Gaea Cannaday
45.  Ginger Bishop (military, Okinawa) and Martina Nagele (Germany)
48.  Helene Goldberg (Australia) and Karen Vincent
54.  Joanna Matuszczyk (Poland) and Julianna Kis (Hungary)
55.  Joanne Tinley (UK) and Michaela Pabeschitz (Austria)
65.  Kristina Johansson (Sweden) and Penny Neville (Canada)
66.  Krisztina Erlaki-Toth (Hungary) and Nicole Keller (Germany)


76.  Lori Finney (Canada) and Marie-Noel Voyer-Cramp (Canada)
78.  Marta Kaczerowska (Poland) and Milla Starchik (Canada)
83.  Michelle Jensen and Sandra Young (Canada)
92.  Rosa Maria Cuevas (Mexico) and Tejae Floyde
93.  Sabine Dittrich (Germany) and Sally Russick
95.  Shanti Johnson and Tracy Mok (Canada)
97.  Sonya Stille and Traci Zeller (Canada)
98.  Stefanie Teufel (Germany) and Tania Hagen (New Zealand)

Monday, February 27, 2012

Painting with Fire Workshop eCourse

BEFORE WE GET STARTED WITH DETAILS OF THE PAINTING WITH FIRE WORKSHOP eCOURSE, I'd like to thank everyone who helped me get the word out.  I sincerely thank you!

So, without further adieu, I'd like to congratulate LEA AVROCH for winning a seat in the online workshop!  Yay, Lea!  


PAINTING WITH FIRE WORKSHOP eCOURSE - $90

THIS IS AN EARLY SIGN-UP PRICE ONLY.  The regular online course fee of $99 becomes effective on March 8.  Sign up now to benefit from this discount.  Please read to the end of this announcement.


With this course, you can learn the Painting with Fire Method of torch firing enamel from the comfort of your own home.  This is a comprehensive course that will take you through such topics as:


:: types of enamel
:: safety
:: setting up your work station
:: recommended fuels and why
:: metals appropriate for enameling
:: the sweet spot of the flame
:: where to place the bead on the mandrel for firing
::: how to remove the bead so that little clean up is required
:: enameling delicate objects
:: surface decoration
:: understanding color
:: creating compound beads
:: joining metal pieces with enamel
:: creating and enameling wire shapes
:: how to conquer the persnickety head pin
:: creating "twisty tendrils"


I'll also share with you some of my favorite tools, including the jump ring jig, which I use to create jump rings of any size in any gauge and from any metal.


I've set up a Ning group for us.  If you haven't experienced a Ning group, all I can say is, "You'll love it!" It's easy to navigate and provides a very interactive way of sharing information.  If you want to give it a test drive before the eCourse, please join me at www.paintingwithfire.ning.com.  The Painting with Fire Ning has been in operation for just two years and we have 2300 members. This is a free site to members and is open to anyone who shares an interest in torch-fired enamel.  


For the eCourse, I've established a completely separate Ning group.  The word "Workshop" has been added to the name (www.paintingwithfireworkshop.ning.com)  It is a private group and only registrants of the workshop will be at the site. All participants of the PWF eCourse will  have their own page at the Ning where they can download photos of their work.  Everyone's photos unite in a group photos section where photos scroll across the homepage and greet you when you log on.  You'll find  a FAQ tab at the site, but the forum section can be used for questions and for sharing information.


The eCourse will be three weeks in length.  It will begin on April 2 and go through April 23.  However, the site, with all videos and the content we build during the workshop, will remain available to you through May 23.  I know that life can get in the way of our best efforts.   This is a self-paced course.  No  one should be fearful about not "keeping up."


New videos will be added on Monday, Tuesday, Wednesday and Thursday of each week.  Each video will be approximately 15 to 20 minutes in length, give or take a couple of minutes.  On Wednesday evenings starting at 9 p.m. Eastern time, we will have an online chat where all of your questions can be addressed.


TOOLS AND EQUIPMENT
Painting with Fire Torch Firing Kit
In order to participate in the eCourse, you will need the Painting with Fire Torch Firing Kit, which contains the all-important patent pending bead pulling station. The kit has everything you need but the map gas and a heat resistant surface (i.e., ceramic tile, cement board, baking sheet, etc.).  The kit, which is available with or without a Hot Head torch, contains three 3 oz. jars of enamel (a white opaque, a blue-green opaque, and a blue-green transparent), mandrels, beads, vermiculite, bread pan, hose clamp, and C-clamp.


Map Gas
Map gas can be purchased at Home Depot, Lowe's, True Value, Ace, etc.  Look for a yellow canister.  Map gas, which ranges in price from $7 to $10, will give 8 hours of steady firing.  It is commonly used by plumbers to sweat pipes.


eKit
An eKit, which is available for $35, has all of the materials I use during the workshop demos. You'll have a mound of beads, copper shapes, mandrels, 6/20 enamel, liquid enamel, decals, a sifter, millefiori, etc. While your Torch Firing Kit contains all of the enamels you NEED during the workshop, I'll be working with a wide color range of enamels so that I can expose you to some of the beautiful colors of Thompson Enamel. If you decide to purchase additional enamels during the workshop, a 10% discount will be refunded to your credit card or paypal account following checkout at the website.


The Book
The book for this eCourse is, "Torch-Fired Enamel Jewelry: a Workshop in Painting with Fire," by Barbara Lewis (North Light Books, 2011). Signed copies of the book are available to students for the reduced price of $20.  However, the book can also be conveniently purchased  at Amazon, Barnes and Noble, Create Mixed Media, etc.  I highly recommend that you purchase the book, if you haven't already.  It was named the Best Craft Book of 2011 at Amazon for a reason.  I believe it's a great reference book for anyone interested in torch-fired enameling.


Because I've been teaching this technique for several years, I've had the benefit of learning from my students.  I know what techniques may be more challenging and can emphasize different aspects of those techniques.  I love sharing the Painting with Fire immersion method of torching firing.  It is by far the fastest, easiest, and safest way to enamel anything that has a hole (bead, pendant, charm, etc.) Success in creating beautiful torch-fired enamel is at your fingertips!


Details for logging in at the Painting with Fire Workshop Ning!  The Ning site will be operational a week before the eCourse, at which time you'll receive an invitation to join following registration in the class. 


Sunday, February 12, 2012

Introducing Lynnea Bennett


I want to introduce you to Lynnea Bennett!  Lynnea is a member of the Painting with Fire Ning, which, btw, has nearly 2300 members!  Anyway, Lynnea is a major contributor to the group in terms of her energy and talent.  I thought you might like to know a little more about her and her work.  Take it away, Lynnea!

How and why did I get started with torch fired enamels...

I discovered Painting with Fire one day while I was on Amazon...yes Amazon.  I was looking at books for metalworking and forming and up popped an ad for this book called Painting With Fire by someone named Barbara Lewis.  It looked interesting and so I Googled Barbara and found her website.  As I read the website and blog and watched a video I was instantly intrigued.  I loved that I could buy a few simple tools and create my own unique beads and focal pieces.  I did a bit more research online and decided that I would just go ahead and buy the kit (the glory of the internet) and then waited for it to be delivered.  I set up a spot for my work area.  I also signed up for the Ning in case I had any questions and stalked, I mean friended Barbara on Facebook.

I've been making torch fired enamel pieces for about nine months now.  I would love to take a class, but so far I haven't been able to.  Yes, I burned up a few beads and there is a spot on the carpet that I so far haven't had to explain to my husband (hint – hot metal will melt acrylic carpet).  At least if I ever need that shape again I know where to look!  Between the book and the group of artists I get to chat with every week at the Ning, I have jumped in to enameling with both feet.


How have my other interests/hobbies/career influenced my enamel, glass or jewelry designs

 My work began to evolve about 3 years ago and then in 2010 I was in a pretty serious car accident.  I had a head injury and wasn't able to create easily for about 6 or 7 months.  Then one day I had my mojo back!  I started to do some work with resin, stamped metals and other mixed media.  Making my own enameled pieces was another piece of this artistic puzzle I had started to put together.  Enamel work led to fold forming metal.  I made some beautiful leaves and lilies and enameled them.  I have it on good authority that the ribbon I won this summer was because of the enamel work I had done.  Painting with Fire opened a door to lampworking.  Since I already played with fire why not make glass beads too?  So I took a class in that and now I make most of my glass beads.  My jewelry designs are now truly custom and one-of-a-kind pieces of art.  I can create enamel and beads that are unique to that piece.  I often make beads first and design later, but I also will think of something I want to make and will make beads to fit what I see in my head.


What inspires me and what makes my work unique

I am inspired by colors, shapes and texture.  Yes I know this isn't very specific.  I usually have one thing that I look at and think...hmmm what can I make with that?  Since I started to do enameling and lampworking, I will often just make beads and when I am done (and the lampwork comes out of the kiln), I let them all sit together on a plate and decide who goes with who.  Then I start to arrange them and add things to the plate such as sari silk and various metal and glass beads and charms.  If I can't figure out how to make it work, I may walk away for a day or so and come back and play with the components again.  If I really can't figure it out, I may put everything away and then some day in the future bead A rolls next to chain C with charm F and … voila! … a piece of jewelry appears.

I never thought what I did was very unique until recently.  I have gotten so much positive feedback that I had to stop being so critical of my work.  You can only have so many people tell you that what you do is art before you have to believe them!


Do I sell my work/where/what is upcoming that I am excited about

I have a web site www.designsbylynnea.com with links to my stores on Etsy and Handmade Artists Shops.  I mostly sell in person at a variety of art shows and gallery shows.  My client/customer/fan seems to be like me...they want to see and touch the jewelry and talk to the artist.  I like to tell them what inspired a particular piece.  I name most of my work and they seem to really like that I know the pieces by name.  I have had people say, “I bought some of your jewelry and when they describe it to me I say, ‘Oh, that is (name of the piece) I loved making that.’ ”  They seem to really appreciate that personal connection I have to my work.

I am slowly applying for shows in 2012 and there are several I did last year that I will definitely be doing again.  I also have a standing offer to show at a small local gallery and I have a large dance convention that I will be selling at again this year.  I plan to add a few more shows this year and see how it goes.  I am sticking with shows in the Cincinnati/Northern KY area for now, not quite ready to hang with the big guys at the national shows yet.


One thing I am working on this year is doing better with my website/online stores/blog presence.  As an artist I just want to make the art, but I know that if I don't sell what I make I can't buy more stuff.  I also will be participating in Lori Andersons 5th Bead Soup Party.


My advice and the rest of the story

I was in a class and one of the participants was worried that what she made didn't look right and that she wasn't doing it right.  I told her that there was no right in art.  Some of the things that I didn't think were very good turned out to be beautiful once I got over trying to be perfect and right.  We tend to be our worst critics.  Be happy and make what you love and you will find others who love it too.

Please visit Lynnea at
her website: www.designsbylynnea.com
facebook: http://www.facebook.com/Designsbylynnea
Handmade Artists' Shop: http://handmadeartistsshop.com/shop/DesignsbyLynnea


Thursday, January 12, 2012

The Bead Pulling Station Gets a Facelift!

Gosh, I can't believe it's been this long since I've been with you here.  I've been busy, as I'm sure you have been.  The holidays are wonderful, especially when they're over!  I know, I know ... I shouldn't have said that, but I feel that way sometimes.  Here's what I've been up to.  I look forward to having time to check in on you guys! 


:: Beads, Baubles and Jewels
:: Webinar
:: Get together with Jim's side of the family for pizza
:: Pick up daughter and boyfriend from the airport
:: Take daughter and boyfriend downtown
:: Meet friends for lunch
:: Shop
:: Cook Christmas Dinner for my side of the family
:: Drive 13.5 hours to St. Pete, correction - add one hour for traffic
:: Meet with general contractor
:: Pick up son, David, and Chris Connolly and Toni Maddox the PWF Team at airport
:: Show them their new apartments and PWF home
:: Celebrate New Year's Eve
:: Meet gutter guy
:: Meet decking guy for rooftop deck
:: Meet ventilation guy
:: Buy stackable washer and dryer for shop
:: Spend several hours with designer
:: Spend more time with designer
:: Meet with Deputy Director of Building Permits for St. Pete
:: Meet with ventilation guy
:: Meet with Diamond Tech regarding torches
:: Pick up newly-designed bead pulling stations!!! No clamps required! Pretty snazzy! 


Wednesday, December 21, 2011

Spring Bling Torch-fired Enamel Necklace!

Just because it's the first day of winter doesn't mean we can't dream of spring.  These are pieces I made for a friend to give to his wife.  He sends me a wad of money and says, "go for it!"  He doesn't feel a need to have input into the design of the piece.  He trusts me.  I just do my best and this is what I came up with this year.  I used torch-fird enamel beads by me and gorgeous lampwork beads by Patti Cahill. I hope the Mrs. likes it!


Spring Bling ... torch-fired enamel, lampwork, bead clusters from semi-precious stones


Lampwork beads by Patti Cahill, PMC by me
A version of the book project "Beady Bangle"


Friday, November 18, 2011

A Home for Painting with Fire Studio!

We went to settlement yesterday on a teaching and retail space for Painting with Fire! Here's a photo of how it looks today! 


The address is 2428 Central Avenue, which lies within the boundaries of Historic Kenwood and is two blocks from my house!  Central Avenue is the main drag from downtown St. Pete to the Gulf beaches.  The studio is in the Grand Central District, which is an artsy area full of personality.  The neighborhood is great about supporting local businesses and I can't wait to meet more of my neighbors.  Businesses on my block include those for stained glass and graphics, art supplies, cupcakes, a half a dozen restaurants, cigars, antiques, real estate ... and now torch-fired enamel! 


I'm really looking forward to this space being a place where torch-fired enamel artists can gather.  I'll have open torch times where you'll be able to try different enamels before buying them.  You can come in with questions.  It's going to be great. 


Getting back to the building ... the space on the far left will be the teaching part ... the torches will be lined up on the left wall and we're meeting with the ventilation guy tomorrow.  Behind that is storage room and office space.  The area behind the colorful balls will be the retail space.  We'll sell everything we currently do online, but will also have a greater selection of other beads and beading accessories. A very lovely bridal salon occupies one of our spots. 


There are two one-bedroom apartments upstairs, one for my son, David, and the other for Chris and Toni, all who are studio artists at PWF. Both David and Chris are talented teachers and Toni is a fine artist.   I love her eye for design and I look forward to getting into mischief with her.  Chris, Toni and David, all 25 year-olds, will infuse Painting with Fire with energy ... in more ways than one! 


I've had this urge to offer Winter Retreats in St. Petersburg.  Who wouldn't want to go on a learning vacation in January, February or March?  This space also will provide lots of opportunities for things like this. 


It will take us several months before we're down here full time.  My target date is May 1, but we'll be hosting lots of workshops and other events from now until then.  I hope you'll follow along as we make changes to the space to get ready for opening.  It should be fun! 

Friday, November 11, 2011

Another way to promote ...

Did you know that you can set up a google alert?  What's a google alert? It's a way for you to monitor the web for interesting new content.  You simply type in the words or series of words that you want to monitor. Everyday you'll find an email in your inbox with a list of goggle sightings for that word(s).  For instance, I've set up several google alerts, including for the words "Barbara Lewis," "torch-fired enamel," and "handmade jewelry."
Much of what I was reading were press releases, some by local newspapers, but lots by press release services like PR Web. Here's a little blurb from their website that explains the overall concept ... 
"It’s simple. You write an announcement about your organization – a new product launch, current promotion, or local team sponsorship - whatever. We distribute your release to every major news site and search engine on the Web, and can put you in front of consumers and journalists."
They'll give you as much or as little help as you need ... for a price, 
of course.  Here's what came to my inbox today ...


When I clicked on the message, it brought me to this spot ...


You can track how many times your press release has been read fully and people's impressions of the headline.